Week 1 (February 1st-February 8th)
Coming back from winter break and analyzing the designs created, we thought it would be best to edit the screw and pole. We decided to combine the screw and pole in order to make it more convenient for the users, rather than having two phases to eject and stabilize the pins. Additionally, this was the week we finalized orders for the materials to prototype this hip implant as well.
Screw and Pole Combined:
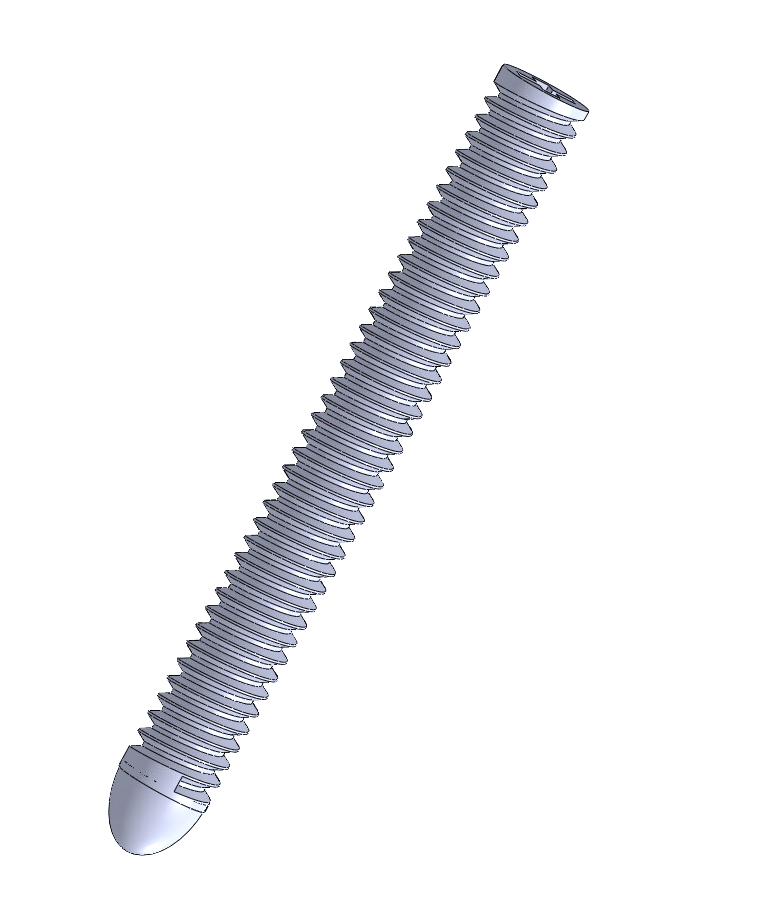
Lastly, as a team, we are discussing a way to keep the pins (before ejection) from moving and slipping out of the chamber.
Week 2 (February 8th-February 15th)
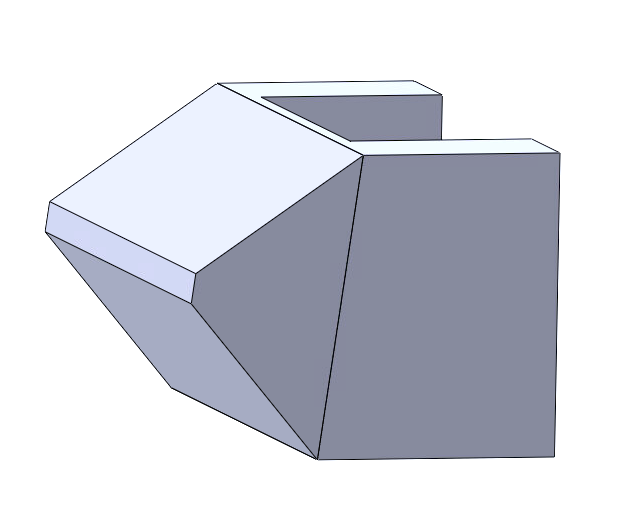
Going back to the pins we created, it was found through Finite Element Analysis that the stress implemented onto the trapezoidal prism tip will not break (no matter how big the surface area is that comes into contact with the bone). As a result, we designed a more triangular shaped pin.
Along with the pin tip edits, the bottom half of the hip implant was finalized to resemble other hip implants on the market.
Final Pin Shape:
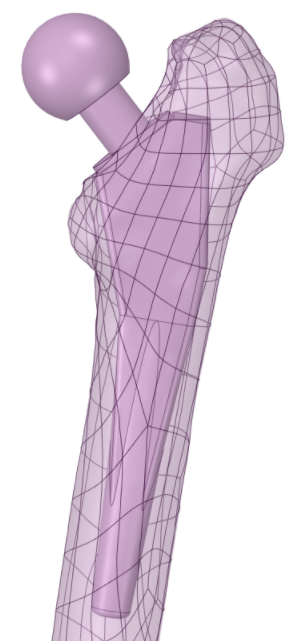
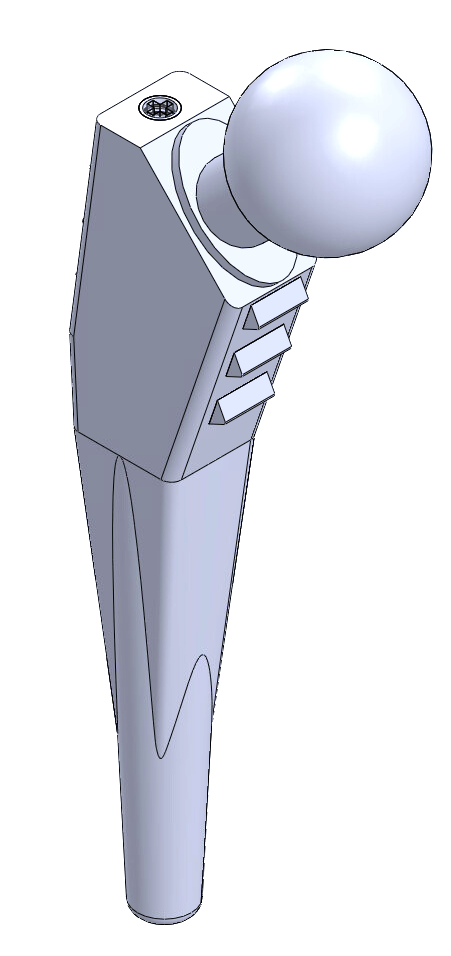
Final Hip Implant:
Week 3 (February 15th-February 22)
This week, our team decided to participate in the Northeast Bioengineering Conference (NEBEC). We finished our abstract (as required by NEBEC) and sent it to our advisor for review. After receiving feedback and finalizing the abstract, we submitted it to NEBEC.
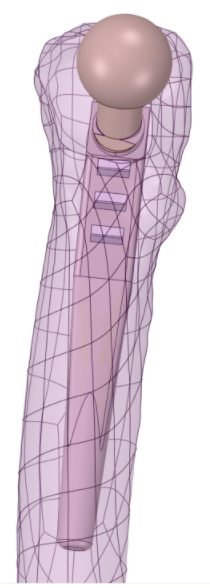
Since the implant was finalized last week, our team was also able to import the device into ANSYS and combine it with a femur bone. This will allow us to test our requirements and to analyze if this hip implant will prevent stress shielding or not.
Hip Implant in Femur Bone (ANSYS):