Monthly Archives: March 2019

Foam Ends

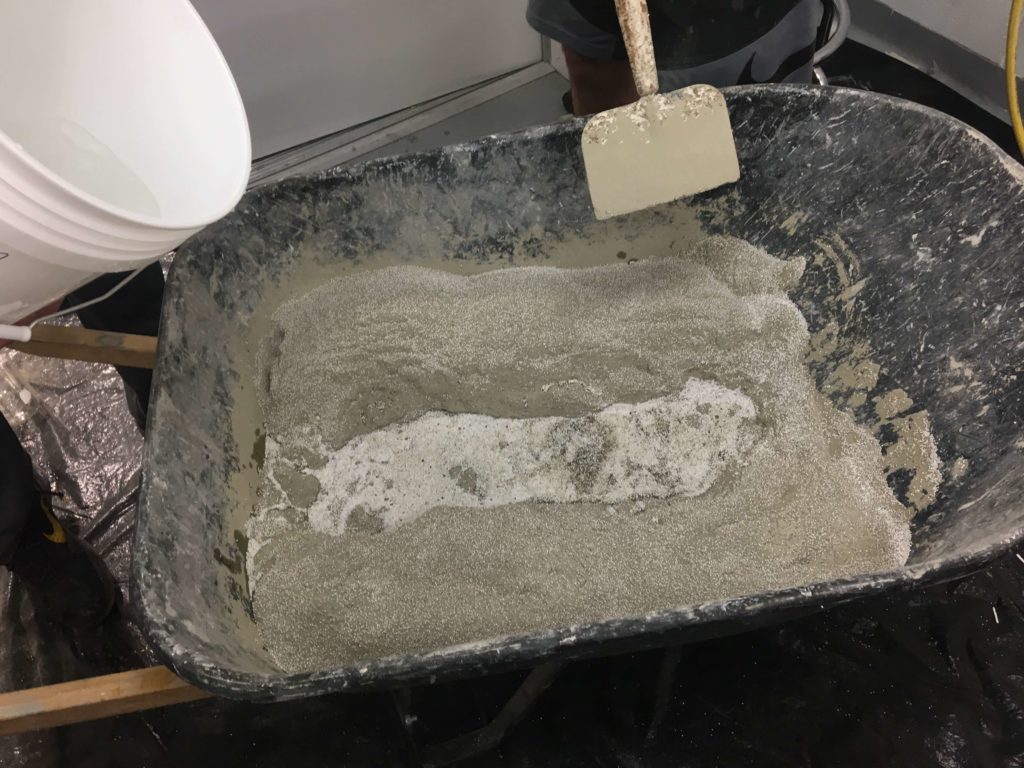
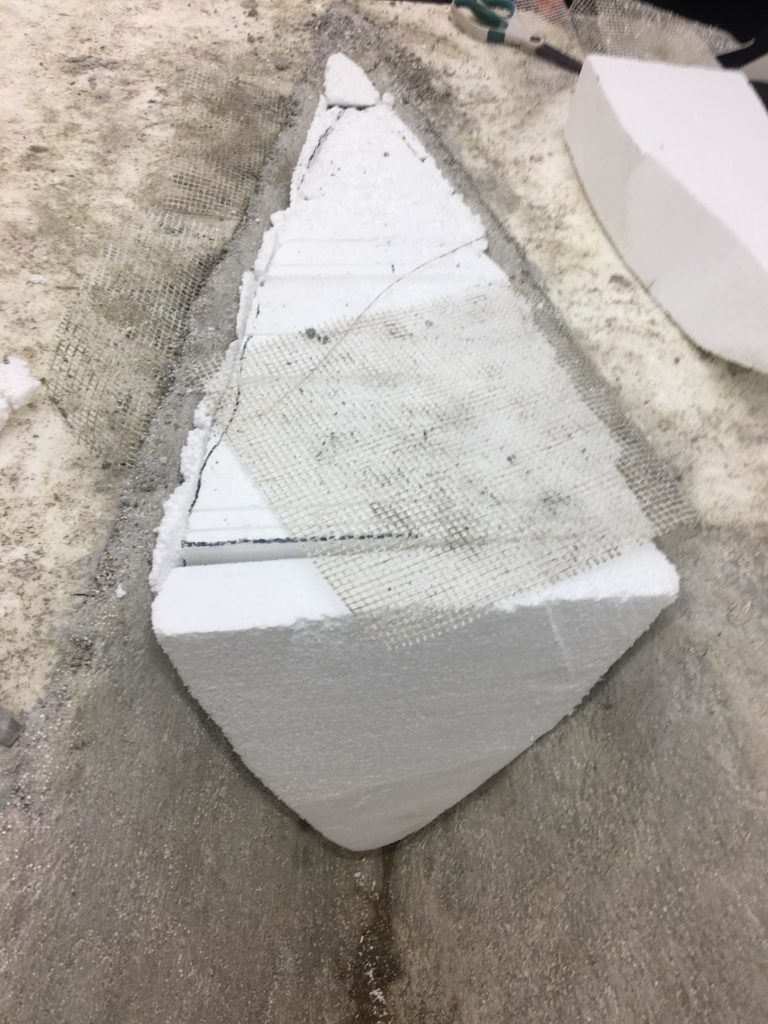
The team came back from spring break ready to cut and place the styrofoam blocks to fit in each end. According to the rules and regulations, the flotation must be within 3 feet of both the bow and stern. The foam block was created by cutting several cross sections in plan view and securing them together. The pieces were first cut using the workshop’s band saw and shaved down using a rasp to fit into the shape of the canoe. Finally, a cross section piece was placed on the inside to act as a smooth wall going from the bottom to the top of the canoe. To place the foam down, a thin layer of our mix was placed on the canoe where the foam blocks would be installed. The foam was then covered by concrete and the reinfrocement was tied in on the top. Lastly, more concrete was added to cover the reinforcement and create a smooth finish.

Commence Construction

The team began the construction phase this month before Spring Break. The epoxy-coated mold was prepared by covering a layer of carnauba wax to allow for easier removal of the finished canoe. A total of 5 mixes were made using a wheelbarrow, a hoe, and measured out materials in 5-gallon buckets. A trough was made in the middle to where 2/3 of the required water was poured. Once mixed, the rest of the required was poured in to complete the mix. Each batch required about 15 minutes of hand-mixing.

Once the concrete was ready, the team used gloves and trowels to place down the concrete starting from the middle of the canoe towards the ends. The team placed down a 1/4″ thick layer followed by the fiberglass mesh and finally another 1/4″ layer on top. The thickness of the layer was checked using a marked nail with a 1/4″ and 1/2″ lines.

The total process took about 6 hours to complete. The team covered the canoe with wet burlap and a tarp to maintain the moisture throughout its curing process. The team will come back to cut and place the foam ends and cover it with concrete.